How to Carve a Pumpkin with a Handgun (Or an AK-47)

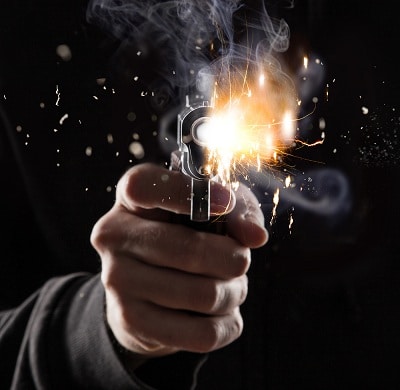
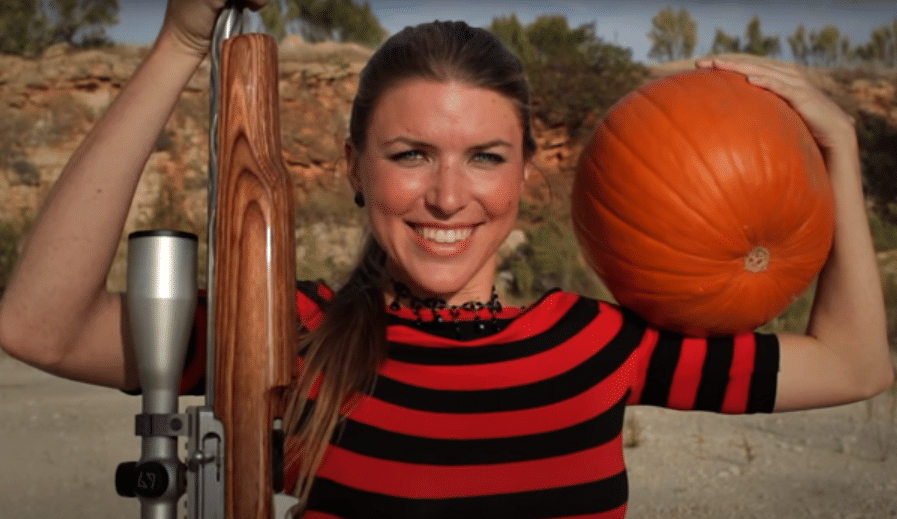
Ready to learn how to carve a pumpkin with a handgun (or AK-47)? We’ve got you covered with a bunch of great video examples all gathered in one place! Thanks to hickock45 for the bulk of these great videos!

With fall gearing up, that means it is time for cooler weather and outdoor fall activities. It is time to get that fire pit going, get ready for deer hunting, and to start thinking about carving those pumpkins with your handgun.

Combine two fall favorites into one activity. Most people carve their pumpkins with knives but why not take the opportunity to show off your precision skills with your gun?

Related Read: How Often Should I Clean My Gun?

You only need a couple of items for this activity; grab your gun and a pumpkin.

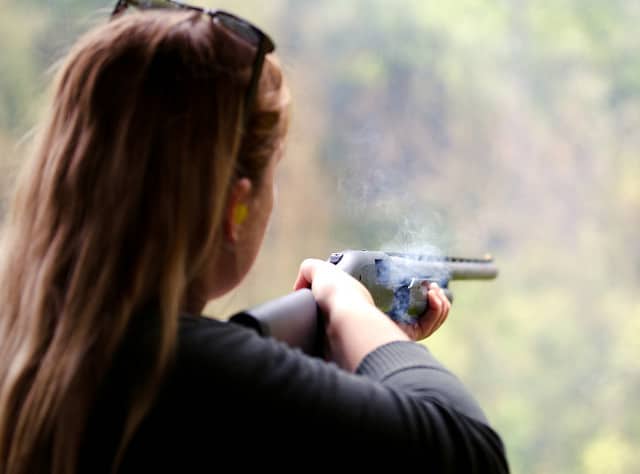
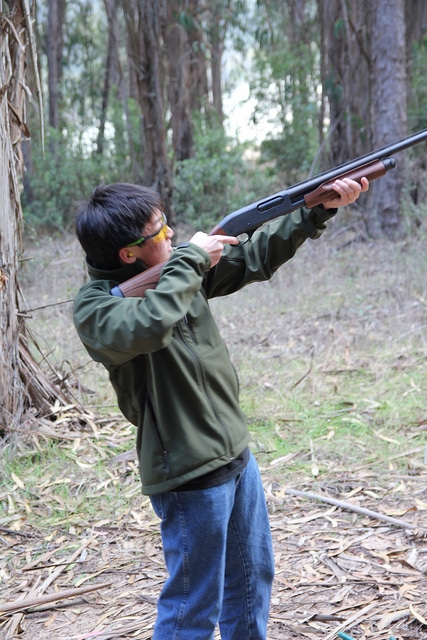
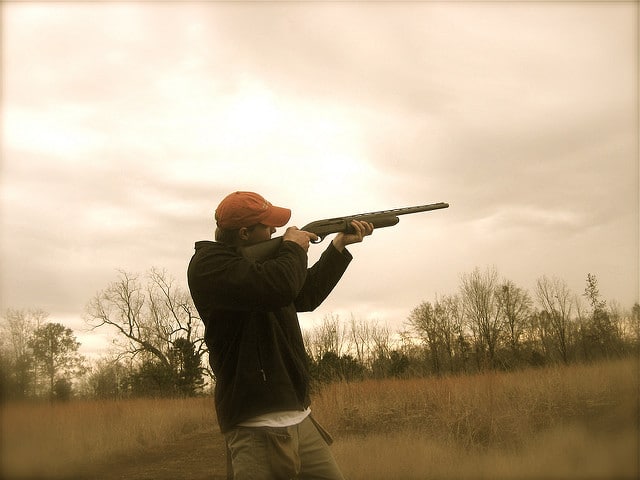
Your Setup for Carving a Pumpkin with a Handgun

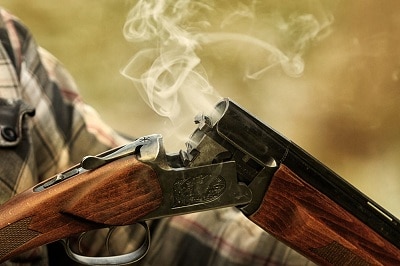
Your typical pumpkin carving setup involves drawing your ideal expression on the front of your pumpkin. Afterward, you find yourself a sharp enough knife and stab through the shell and carve as artfully as possible.

For some, this task is easy and artistic. For others, it is a safety hazard and involves stitches. However, there is another way. You can carve your pumpkins from a safe distance with your handgun or rifle.

In these demonstrations, you will notice some details. In the first several videos, the pumpkins are already scooped out and ready for carving. However, instead of using a dangerously sharp blade to carve the ominous features of your jack-o-lantern, you use your every day and ordinary handguns and rifles to perform this task.

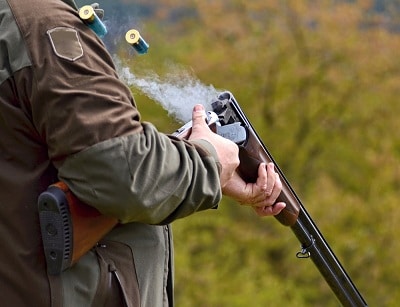
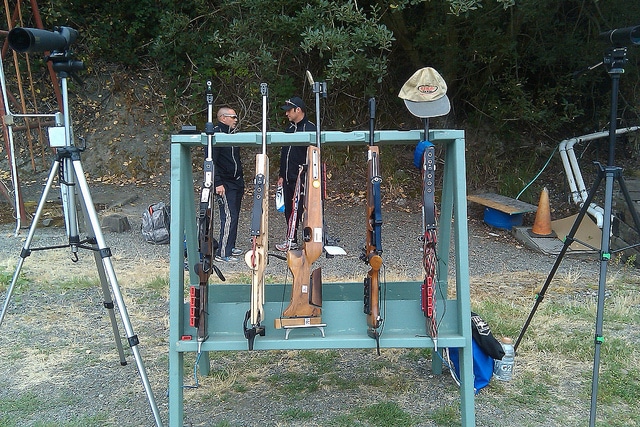
You need a safe place to practice, once you learn how to carve a pumpkin with a handgun, along with all the safety gear you might expect. Be sure you have a suitably sized pumpkin and your gun.

You can get relatively close to your pumpkin to do the carving, but feel free to challenge yourself with some distance. Maintain a proper distance, have ear protection, and shoot safely! When you are done, make sure to unload safely, too.

Ideally, you can place your pumpkin off the ground while shooting. Lastly, consider bringing a few extra pumpkins. This task has the potential to create some pumpkin casualties. Plus, it is fun, and you will want to keep going.

How to Carve a Pumpkin  with a Colt 1911

In this video, the carver is using a Colt 1911 Series ’80. You will notice he is not that far away from the pumpkin, and he is wearing ear protection. He starts with the nose before moving onto the eyes, followed by the mouth. His shots are precise, and it turns out pretty good. In fact, the back of the pumpkin looks like a face, as well. It was not torn out all that much.

You can watch this unfold in the video below:

https://www.youtube.com/watch?v=mThUfYcea3I

How to Carve a Pumpkin with a .44 Magnum S&W

This video demonstrates the use of a .44 Magnum Model 29. With the pumpkin on a stand and while sitting close by, the shooter takes out the face of the pumpkin. The .44 Magnum is a double-action revolver. It has six shots, and its chamber holds the .44 Magnum cartridge. The pumpkin’s face turns out great, although there is some curiosity about the look of the back of the pumpkin.

Related Read: Which’s Better Between .45 Long Colt vs .44 Magnum Ammo?

You can watch the video below for a guide on how to carve a pumpkin with a handgun.

https://www.youtube.com/watch?v=5m7VBtkdpW4

How to Carve a Pumpkin with a Desert Eagle

A Desert Eagle is a semi-automatic pistol designed by Magnum Research. The pistol is magazine-fed and considered a powerful handgun.

The pumpkin carving demonstration has the shooter laughing as he carves his pumpkin with his gun, and the pumpkin ends up with a suitable and charming smirk.

Related Read: Understanding Handgun Calibers For Everyone

Catch the video below:

https://www.youtube.com/watch?v=BNiwpUewbCY

How to Carve a Pumpkin with a Henry Rifle

In this video, the shooter is carving a pumpkin with a Henry Rifle. The Henry Rifle is a lever-action rifle that dates back as far as the 1860s. The shooter carves a fantastic face in the pumpkin in this video.

Surprisingly, the pumpkin does not blow apart too much. It helps if the shooter is exact with his shots, however. Although, we do not get to see what the back of this pumpkin looks like.

You can watch the video here:

https://www.youtube.com/watch?v=5n9Ebx-bXLI

How to Carve a Pumpkin with an AK 47

Yes, you read that right. The shooter is carving a pumpkin with an AK 47. The AK 47 is an assault rifle. The AK of the name stands for Avtomat Kalashnikova because of the Russian designer. Also, the AK 47 is simple to use and reliable.

In this video, the shooter takes a seat and carves the nose and both eyes with several shots. The last shot to the mouth almost destroys the pumpkin, but it ends up working out for both the shooter and the carved pumpkin. While the AK 47 is not common as a household tool as described, it looks more fun than having to clean up pumpkin parts off the kitchen table.

You can watch the video here:

https://www.youtube.com/watch?v=O2uVS0XXAyE

How to Carve a Pumpkin with a Glock 23

A Glock 23 is either a compact or mid-size .40 caliber handgun. In this video, the shooter has his pumpkin set up and ready to go. He wastes no time with some pretty tight groupings shooting out the features of the pumpkin’s face. Again, this is another time we would love the see the back of the pumpkin after carving.

Be sure to watch this video to the very end after the shooting. You will see what it looks like lite up at night. You can see the video here:

https://www.youtube.com/watch?v=qGH8Af9Hdb0

How to Carve a Pumpkin with a Volquartsen Semi-Automatic .22

For this final video, the pumpkin is not scooped out in advance. Also, the shooter is more concerned with the back of the pumpkin rather than the front. The shooter is using a 10/22.

The 22 bullets do not cause holes with a large diameter, so she has to use more than one shot to create her shape in the pumpkin. She is not trying to shot in the same spot but instead grouping to make the necessary shape. In the end, it looks great both front and back.

Related Read: Why You Should Own a Ruger 10/22

You can check out the video below.

https://www.youtube.com/watch?v=YzZeWanq2Ck&feature=youtu.be

Ready, Aim…

You could carve your pumpkin the same way as everyone else.

However, those store-bought carving kits are difficult to work with and the stencils are often boring.

There are other ways to create your spooky features on your pumpkin: you could carve a pumpkin with a handgun.

Grab a few pumpkins, your safety gear, and your guns, and challenge yourself with some fun with precision shooting by practicing how to carve a pumpkin with a handgun.

How did your pumpkin carving with a gun turn out?

Featured image via YouTube

A teacher by trade, Victoria Caine splits her free time between freelance writing, her camping blog, and (frantically) guiding her teenagers into becoming functional adults.

Which Are 3 Simple Factors That Affect a Weapon’s Range?

Modern bullets are able to travel hundreds of yards farther than the projectiles of early weapons. While modern technologies have played heavily into that, there are still quite a few basic concepts that also greatly impact factors that affect a weapon's range.

To start, we must first consider the true definition of a weapon’s range.

The range of a weapon is more than just how far the bullet is able to go.

We should consider the effective range of the weapon, or how far a bullet can go while remaining accurate.

At its core, the purpose of a weapon is to shoot a projectile accurately. Increasing the range of a weapon inaccurately would be useless.

The three factors that affect the effective range of a weapon the most are the weapon used, the ammunition, and the environment.


1. The Weapon

The actual weapon used has a significant impact on the range that the bullet is able to travel.

weapon used has a significant impact on the range

weapon used has a significant impact on the range

The specific weapon affects the muzzle velocity and the accuracy of the bullet.

Muzzle velocity can be defined as the speed at which the bullet leaves the barrel.

A higher muzzle velocity increases the effective range of the weapon, as the bullet is able to travel farther.

Based on the definition of effective range, the ability to shoot more accurately also increases the effective range of the weapon.

The first part of the weapon that affects its effective range is the length of the barrel. Generally speaking, a longer barrel will allow for a higher muzzle velocity and a more accurate shot. While there are some exceptions to every rule, most of the time, a longer barrel will increase the effective range of the weapon.

The effective range is also increased by the rifling in modern barrels. Most modern weapons have rifled barrels, which impart spin on the bullet. The spinning bullet is able to travel downrange more accurately, which increases the effective range of the weapon.

Best gun safe for the money will help you storage your weapon. That post will help you find the best.

2. The Ammunition

Full metal jacket ammo

The specific ammunition used also has a big impact on the effective range of the weapon.

Different grades of ammunition will have different amounts of propellant.

Commonly referred to as gunpowder, the propellant is the part of the cartridge that actually burns and propels the bullet downrange.

Ammunition with more propellant will have a higher muzzle velocity. As previously stated, a higher muzzle velocity will increase the effective range of the weapon.

Another way that the ammunition affects the effective range of the weapon is the actual shape of the bullet. Modern bullets are more aerodynamic, which allows them to travel further.

3. The Environment

One commonly forgotten factor that affects the effective range of the weapon is the environment in which it’s shot. Some of the environmental factors to consider are altitude, temperature, humidity, and wind.

Enviroment is one of factor impact weapon range

Enviroment is one of factor impact weapon range

Most environmental factors can be narrowed down to one more specific factor: resistance. More air resistance will slow down a bullet and decrease its effective range.

At higher altitudes, the air is thinner.

Thinner air means that the bullet will encounter less air resistance, which will increase the effective range of the weapon.

Conversely, at lower altitudes the air is denser. The denser air will create more air resistance, which decreases the effective range of the weapon.

Similar to altitude, temperature and humidity also affect air resistance.

Colder air is denser than warmer air. In cold temperatures, the bullet will experience more air resistance, so the effective range will decrease. Cold air also reduces muzzle velocity, because the chamber pressure of the firearm will be lower. Humidity has a similar effect. More humid air is denser, which decreases the effective range of the weapon.

Wind can blow the bullet in either direction. This creates more air resistance, but also decreases the accuracy of the weapon at longer range. If the bullet is blown in one direction by the wind, you are less likely to hit your target. That decreases the effective range of your weapon.

Conclution

All in all, there are hundreds of factors that can affect the effective range of a weapon.

Modern weapon technology, such as higher velocity rounds and rifled barrels, have increased the effective range of weapons significantly.

However, environmental factors can go a long way in changing the effective range of your firearm, and they are often not thought of. The biggest factors to keep in mind when considering the effective range of a weapon are the muzzle velocity, the accuracy, and the environment.

What are your thoughts? Leave them in the comments section!


Get a Perfect Shot! Learn How to Measure Length of Pull


Many new shooters may not quite grasp the concept or how to measure the length of pull. If you aren’t familiar with long guns, it’s probably not something you’ve spent time worrying about or measuring.

A long gun’s length of pull is the distance from the end of the gun up to the middle of the trigger.

When looking for the right gun, length of pull is one of the most critical measurements which will determine whether or not the gun will fit you.

Here, we’ll take a quick look at how to measure length of pull.

Chris Fort

What Goes into Determining Length of Pull?

There are a number of factors to consider when measuring a gun’s length of pull. How long is your neck? Are you in shape or do you have fat poofy cheeks? And how big are you overall as a person?

Your personal dimensions must coincide well with those of the gun you hope to use. What is the long gun’s drop at heel and drop at comb? Trapshooters does a really great job in this article of breaking down length of pull measurements.

  • Drop at heel refers to how much distance sits in between the butt of the gun and the line of sight.
  • Drop at comb refers to the distance that sits between the line of sight and the comb of the stock. In case you aren’t familiar with this, the comb of stock is the part of the gun where you rest your cheek, whether poofy or not.
  • One thing to note here: length of pull is not measured by the distance between your elbow and your thumb. My grandpa told me this when I was child, but it has been proven false. So, when someone tells you measuring length of pull is that simple, you can refute the claim!

Why Correct Length of Pull Matters

To optimize your shooting skills, having the correct length of pull is important because it allows for comfort and familiarity. Hunting is a sport of patience and repetition. Therefore, having a gun that is well suited to you along with the proper tools for the field will greatly increase your chances of success. Here is exactly why length of pull is important:

  • If the length of pull is too short, your line of sight can be impeded. Maybe it’s by the thumb coming into the field of vision during aiming, or maybe the gun just never sits quite right and getting the best aim is impossible.
  • When the length of pull is too long, accuracy is directly impacted. Your clothes may shift the aim by moving the butt of the gun. Or the gun may wobble slightly as you zero in because your arm isn’t able to properly situate the equipment.
  • Here is a great video on accurately measuring length of pull:

Measuring the Length of Pull

I always encourage young and new shooters to be professionally fitted to a gun for proper length of pull. That way, nothing is left to chance. They will likely run through several long guns until the perfect one that meets both your personal criteria (including budget) and the correct measurements is identified.

If you do choose to measure it yourself, remember to fit for comfort as much as you are fitting for measurements with a ruler or however you measure at home. It is critically important that the gun fits you – how much fun is doing an activity with improper equipment? Not very much!

It is possible to become comfortable with a gun’s length of pull even if it isn’t perfectly suited to you. This is much easier to do for experienced shooters and those that have spent their lives in the field trying out different long guns in different situations. Practice makes perfect, and experience makes comfort. That is my motto with shooting, and I encourage you to adapt that motto as well. For the newbies, get that gun measured from the middle of the trigger back to the buttstock and don’t settle for anything that doesn’t feel right!

Conclusion

how to measure length of pull
Stephen

As I’ve said many times before, shooting is all about comfort. Accuracy comes from comfort, and so does a budding passion for a life of hunting. Using a long gun with the correct length of pull measurements will put you on the right track for both of those. Double-check the measurements, especially if buying a new gun.

If you are looking for a scope for your shotgun, I have written a post about the three best shotgun scopes for hunting, so check it out.

If you’ve enjoyed this article, go ahead and share on your social media channels so that others can learn how to correctly measure length of pull and we can put those old rumors to bed for good. Leave any questions in the comments – we’ll get a discussion going.

Do You Own a Shotgun? Let’s Find How To Aim A Shotgun


Finding the right stance and getting comfortable with aiming is something that all new shooters have to go through. It’s a fun process – it allows for a bit of personalization and flare to come into the sport.

When I first started hunting with my dad and uncle and a kid, it took me several times of going to the range and trying out new positions. Once I became comfortable, I began honing my aim.

While much of it is about feeling, there are some general guidelines to follow. Here are some tips for how to aim a shotgun.

Learning the Proper Stance

Spend any time hanging out at a gun range and you’ll likely see some interesting stances. Some stand straight and tall, others do weird things with their arms. My favorite is the old guy who stands with his feet super far apart – maybe he’s worried about knocking himself over when he takes a shot?

  • The best stance that will allow you to aim your shotgun easily is to put your feet between armpit length and shoulder-length apart. Much further than that and you’re lowering your line of vision and not optimizing for the best balance points. Closer together and you’re liable to blow yourself over on kickback.
  • Just over half of your weight should be on the front foot. Not too much, because you want to remain balanced and stable. But enough that your momentum is slightly forward. If too much is on the back foot, you’ll find that you shoot over the top a lot because you’re leaning back when the shot is taken.
  • Stand at a 45-degree angle to the target. This allows for comfortable and proper shotgun positioning.
  • I always recommend shooters do a bit of rocking back and forth. Lightly lift the toes in the process. This familiarizes you with the stance.
  • This video here goes over the basics to know how to aim a shotgun.

Finding your ‘Point of Aim’

Here is where a shooter can put a bit of their personal vibe into their shooting stance and shotgun aim.

Now you’re in your stance and working on the rocking motion. If you haven’t already been doing so, hold the gun in a shooting position during the rocking process. Notice where you feel most comfortable during the rock.

Likely, it will be right about where 55-60% of the weight is on the front foot. Once you’ve identified this position, STOP!

That is your natural point of aim. The object with this term, as it relates to how to aim a shotgun, is that this is the angle where you’ll shoot the target. This is where the bullseye will be directly in front, or where the clay will be broken by your bullet.

It’s important to remember that you’re not shooting a rifle. Don’t stand fully sideways with the gun near the shoulder. I prefer to have the stance a bit more open here.

Keep it flexible and position your head

When aiming your shotgun, the goal is to be able to shoot in more than one direction without becoming uncomfortable or urged to reset yourself. Make sure you are able to comfortably position your head above the barrel and hone in on the line of site.

  • I urge shooters to rock a bit every time they get settled into the stance. Come to the same final position the same way every time. Eventually it will be a habit.
  • Don’t pull your head off the stock. The shot should hit wherever the eyes are pointed. If you find yourself looking down at the barrel, or left-to-right or vice versa, focus on keeping your eyes and head positioned correctly.
  • Keep your feet planted when turning, and move with your upper body. Going back to the whole flexibility thing, following and aiming at a moving target should be an easy thing to do. It shouldn’t require you to jerk yourself around in a circle.
  • Don’t close your eyes. Train yourself to keep both eyes open during the shot. Depth perception is as important as anything else in relation to how to aim a shotgun.
  • Work on the mount and positioning on the shoulder. It shouldn’t be a painful thing when you pull the trigger. Slide the gun back and forth until you’re able to find a comfortable position.
  • Here is some advice on leading your target.

Conclusion

Aiming a shotgun is really about making the gun a part of your body. If it isn’t a natural stance, you’re never going to feel comfortable as a shooter. The right point of aim for you is the one that allows the most flexibility without compromising any sturdiness or power. Remember the rocking motion. I’ve been hunting for over fifty years now and still rock into my stance every single time.

COMSEVENTHFLT

Consider the best shotgun scope for your shotgun, it will help you have perfect shot with your shotgun!!!

If you’ve enjoyed this article, I urge you to share it on social media to help others get accustomed to finding the best possible stance and aiming their shotgun correctly. Feel free to leave any tips here in the comments, I’m always game for upping the ante a bit!

Featured Image via Torrey Wiley 

What is a Safe Way to Unload a Muzzleloader?


One of the more common questions that new hunters have is ‘what is the safe way to unload a muzzleloader?’

When it comes to muzzleloaders, conventional firearm wisdom is somewhat bullet and propellant charge are loaded in through the muzzle, or open front end, of the gun.

I’ve owned one since my 21st birthday, when my grandpa gifted me the one that belonged to his dad. He also gave me a good lecture on unloading a muzzleloader, which I’m going to pass along to you today.

Historical value

These firearms are immensely popular amongst fans of old westerns, war flicks, and historical battles. The one I got from my grandpa is one of these, in fact it was built in the 1800s.

Muzzleloaders are often used in reenactments and theatrical settings, depicting the guns of old. Despite their historical value, muzzleloaders can be incredibly difficult to unload.

If you have never used one before, watch some old flicks of them in action and take notes on the loading and unloading processes that the shooters follow.

Learning the muzzleloader.

Muzzleloaders are more challenging to use than traditional rifles and guns. It is important to only use black powder with these weapons, anything else can be unsafe. These guns are loud, so always wear protection. Muzzleloaders need to be cleaned after every time they are shot. If attempting to clean a loaded weapon, there’s a great chance that you’ll severely injure yourself or cause structural damage.

  • They also are designed for practicality, not comfort. You don’t want to let the black powder set overnight. Load, and unload, all in the same session, each and every time.
  • If the black powder stiffens, it will have a dramatic effect on accuracy.
  • They can kick like mule (at least by rifle standards) and unless you’re using a modern version, don’t have much as far as ‘amenities.’ Be prepared for a very traditional and basic shooting experience, and be ready to spend some time unloading the weapon.

Remove the breech plug.

These days, most muzzleloader enthusiasts are firing modern in-line muzzleloaders. Unloading this type of firearm is significantly more safe and less time consuming than older muzzleloaders. It doesn’t take any special equipment or training, other than what you can learn quickly from an experienced shooter.

  • All you have to do is remove the breach plug.
  • Once you’ve done that, just push the projectile and the powder out the rear of the barrel.
  • After you’ve done this, load the ramrod (or loading rod) into the barrel. This step is critically important because otherwise, the touchhole may become blocked by random objects during storage. Or, even during a resting period between shooting sessions – this can happen very quickly.
  • These tips are specifically for unloading the muzzleloader without firing the bullet out. See below for tips on unloading through firing, and also check out this video:

With a CO2 Discharger.

Perhaps the best way to unload a traditional (read: older) muzzleloader is with this method. Take your ready to use discharger and use one of the following methods:

  • Press the discharger against the touchhole, if you are using a flintlock muzzleloader.
  • If the gun is a percussion lock muzzleloader, place the discharger over the nipple and safely discharge the barrel.

Be very careful with CO2, and always apply it to the right area depending on your weapon. If you aren’t sure which type of muzzleloader you have, do some internet research to find out before cleaning and unloading. Here is a great video on this.:

https://www.youtube.com/watch?v=NTF5oEzto5k

Discharging the muzzleloader into a backstop.

This is the most entertaining way to unload a muzzleloader. Shoot the gun into a safe backstop that won’t deflect the bullet back at you or at someone (or something) else. If at a range, this is easily done by simply firing the weapon in the appropriate area. Shoot the muzzleloader into a thick, cushioned setup that is prepared to handle bullets.

If you happen to be out in the wilderness, be very careful and mind these steps:

  • Don’t fire into the ground. This is literally the stupidest thing you could ever do. The projectile may bounce right back up at you, or a member of your party, or strike a dog that is unaware of what’s going on.
  • Likewise, don’t fire into the air either. If you’ve ever heard the old saying “what goes up, must come down,” then you know what I’m talking about. It’s doubtful that you have the inward geometrical skillset to calculate exactly where that bullet is going to land.
  • Because muzzleloaders are so popular with target shoots, use the target as a backstop in those situations.

Break Down

There you have it, the three best practices for how to unload a muzzleloader. As with any gun situation, be careful and follow instructions. I always recommend either reading the manual on your gun, or doing some online browsing to find out as much information as you can about your specific weapon. This is especially true for older guns – they aren’t always as consistent as newer streamlined versions, and each individual one may have its own quirks and funky movements.

When it’s time to store the muzzleloader, make sure the ramrod is in the barrel. Always lean the gun up against a solid and clean rest. You’ll want to make sure that no debris or dirt gets into the barrel, because this can prevent the gun from firing the next time around.

Conclusion

This about does it. I always keep my muzzleloader on its perch in my garage, lifted off the ground so no dirt from the floor gets in there. I’m interested in how easily you were able to unload a muzzleloader the first time- feel free to leave a comment below. And if you have any additional storage tips, I’d love to hear those as well. If this article was helpful to you, please share on Facebook and Twitter, as anything we can do to improve hunter safety is better for everyone. Thanks, and happy unloading!

Featured Image by Joe Goldberg

Visit Us On FacebookVisit Us On PinterestCheck Our Feed