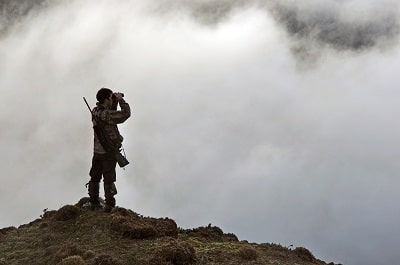
Trying to understand shooting angle compensation? Just in case there’s any confusion, this means compensating for shooting uphill or downhill. If you’re going on a hunt in the mountains, you’re going to want to know exactly what this means.
Shooting uphill or downhill can be a little confusing, but it’s really important to understand. I don’t know about you, but I would hate to miss a shot on a mountain hunt because I didn’t properly compensate for the angle at which I was going to shoot.
In this article, we will go over some of the basics to help you understand this concept.
The Basics
There’s been a long-standing rumor about whether you need to aim up or down when shooting uphill or downhill. It’s one of those things that’s been passed through families. I hate to break it to you, but there’s a decent chance that the rumor you’ve heard is inaccurate.
There are a couple things you have to understand before making your shot. The most obvious one is gravity. Obviously, after you fire the gun and the bullet is flying through the air, the bullet will be affected by gravity. Gravity will pull the bullet towards the ground. The effective distance of the round is effected largely by the velocity, because if a bullet is faster, it will be able to fly further before falling.
Next, you have to understand basic angles. Everyone has learned math, so we will keep it at that. However, being able to estimate about 45 degrees up or down is important.
Taking the Shot
Now that you understand the basic forces at play, let’s cover taking the shot.

Let’s get this out of the way right at the beginning. Your bullet will hit high while shooting both uphill and downhill. Gravity affects the velocity of the bullet more than the trajectory when fired at an angle. Regardless of angle, you will be aiming a little low.
However, if your shot is at a decently close range, you won’t have to adjust your point of aim at all. Within about 175-225 meters, you won’t have to adjust the shot.
You have to start thinking about adjusting your shot if you’re shooting at a greater than 45-degree angle or at a distance greater than 200 meters. At these steep angles or longer ranges, you will have to adjust the distance that you’re shooting.
There are two basic ways to do it, and both of them require you to measure or accurately estimate angles. In order to do this, there are tools you can mount on your weapon, such as an angle cosine indicator.
You’ll need this angle to be able to accurately calculate what range you should be shooting at. If you’re using an angle cosine indicator, it will give you the cosine percentage to shoot at. If your measured range is 500 meters and your angle cosine indicator gives you 10 degrees or 98 cosine percentage, you will multiply 500 x .98 to find out you will hold at 490 meters.
The next way to do this requires less math. It’s essentially just a quick fix based on estimations. Essentially, you will guess or measure your angle. You’ll probably need a reference guide to remember the conversions, but here are a few common ones for you. You’ll shoot 10 degrees at 98%, 20 degrees at 94%, 30 degrees at 87%, and 45 degrees at 70%.
Obviously, the angle cosine indicator will give you a much more accurate reading, so you won’t have to do any guesswork. However, for a quick shot, remembering these few numbers will allow for a much more expedient shot.
Lastly, there are some high-tech rangefinders that will spit all of this information out for you. If you commonly hunt in steep terrain, this may be a worthwhile investment for you!
Conclusion
As you can see, shooting uphill or downhill isn’t as difficult as people make it out to be. There are a few basic principles to keep in mind, and as long as you understand them, you’ll be able to make more accurate shots.
No matter which method you choose, understanding the basics will allow you to be successful.
